In any application it is always a good idea to give the user visual indication while some operation is in process. In this article I will describe how to give the visual indication while the user is performing operations on selected row.
Introduction:
In any application it is always a good idea to give the user visual indication while some operation is in process. In this article I will describe how to give the visual indication while the user is performing operations on selected row.
Populating the GridView Control:
The first task is to populate the GridView control. Take a look at the code below which is used to populate the GridView.
private void BindData()
{
SqlConnection myConnection = new SqlConnection("Server=localhost;Database=Northwind;Trusted_Connection=true");
SqlDataAdapter ad = new SqlDataAdapter("SELECT * FROM Categories", myConnection);
DataSet ds = new DataSet();
ad.Fill(ds);
gvCategories.DataSource = ds;
gvCategories.DataBind();
}
The HTML code for the GridView looks like the following:
<asp:GridView ID="gvCategories" runat="server" AutoGenerateColumns="False">
<Columns>
<asp:TemplateField Visible="true">
<ItemTemplate>
<div id="categoryID"><%# Eval("CategoryID") %></div>
</ItemTemplate>
</asp:TemplateField>
<asp:TemplateField>
<ItemTemplate>
<asp:Literal ID="litCategoryName" runat="server" Text='<%# Eval("CategoryName") %>' />
</ItemTemplate>
</asp:TemplateField>
<asp:TemplateField>
<ItemTemplate>
<input type="button" value="Save" onclick="Save(this)" />
</ItemTemplate>
</asp:TemplateField>
<asp:TemplateField>
<ItemTemplate>
<div id="message" ></div>
</ItemTemplate>
</asp:TemplateField>
</Columns>
</asp:GridView>
The important thing to note is when the button inside the Template Column is clicked the Save(this) method is called. Let’s take a look at the Save method.
The Save Method:
The Save method is responsible for creating the fading effect. Let’s take a look at the Save method and then we will discuss how it is implemented.
function Save(obj)
{
var row = null;
if(IsFireFox())
{
row = obj.parentNode.parentNode;
}
else
{
row = obj.parentElement.parentElement;
}
var message = row.getElementsByTagName("DIV");
row.style.backgroundColor = 'Yellow';
message[1].innerHTML = 'Saving!';
// Here you can also call the server side method to save the item to the database
window.setTimeout(function() { row.style.backgroundColor = 'White'; message[1].innerHTML = 'Saved!'; },2000);
}
The first task is to get the row object of the GridView which was clicked. After getting the row object I find all the DIV elements contained in the row. The DIV elements are retrieved so I can display the message while the row is being saved. The heart of the fading function is the window.setTimeOut method which is fired after 2000 milli-seconds or 2 seconds.
Instead of creating an actual method I am passing an anonymous method to the window.setTimeout function.
window.setTimeout(function() { row.style.backgroundColor = 'White'; message[1].innerHTML = 'Saved!'; },2000);
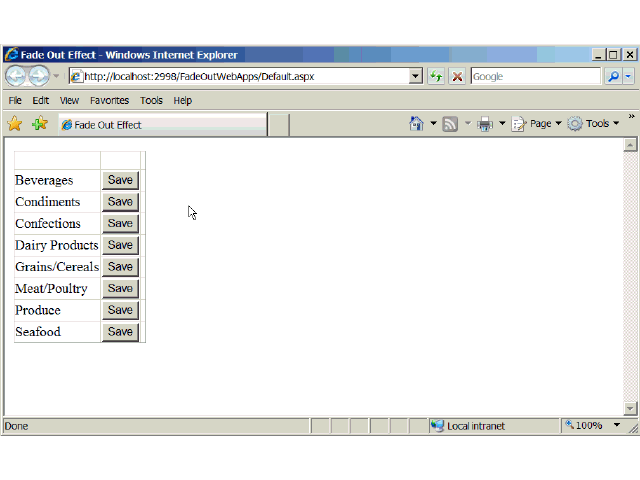
The effect can be seen in the animation below:
Hope you enjoy the article!