The Auto-Suggest feature helps the users to select a particular entity by providing them with suggestions based on their input. We have written several articles that demonstrates different scenarios for implementing Auto-Suggest. This article focuses on how to display images in Auto-Suggest and how to access the properties of the selected item.
Downloading AjaxControlToolKit:
We highly recommend that you download the latest version of the AjaxControlToolkit. You can download it using the following URL:
http://www.asp.net/ajax/downloads/
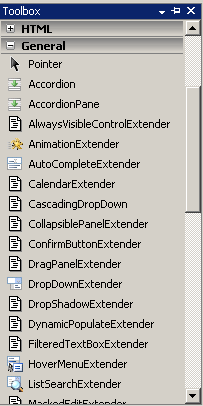
Once, you have downloaded the Toolkit add a new Tab to your Toolbox then right click on the Toolbox and select "Select Items" and then choose AjaxControlToolKit.dll. This will add all the components to your Toolbox. Take a look at the screenshot below that shows all the controls added to the Toolbox.
Before starting to implement the Auto-Suggest feature let's take a look at the database tables.
Database Design:
Our database contains a single table called "Customers" which consists of the following fields:
CustomerID: Serves as the identity column
FirstName: Stores the first name of the customer
LastName: Stores the last name of the customer
ImageUrl: Stores the URL of the customer image
Creating Basic Auto-Suggest Feature:
Before using any control from the AjaxControlToolkit it is important to remember that all the Microsoft Ajax controls are dependent on the ScriptManager control. The ScriptManager control acts as the brains for the Microsoft Ajax Framework. It has the primary responsibility to inject the common client side scripts to the page.
The code below declares the ScriptManager control on the page:
Now, let's create our TextBox and the AutoCompleteExtender control.
The responsibility of the extender control is to extend the features of the target control. The target control for AutoCompleteExtender control is the TextBox control which is also represented by the TargetControlID property of the AutoCompleteExtender control. The ServicePath property points to the web service which will be responsible for fetching the customers. The ServiceMethod represents the method that will be invoked to fetch the customers. The MinimumPrefixLength property is used to indicate that how many characters you will type in the TextBox before a request to the web service will be fired.
Now, let's check out the AjaxService.asmx which is responsible for fetching the customer objects from the database.
AjaxService Implementation:
The first thing you might want to do is to uncomment the following line.
The attribute [System.Web.Script.Services.ScriptService] enables the web service methods to be called from the client scripts.
Now, let's implement the GetCustomers method.
There are couple of important things to note here. The web method GetCustomers is decorated with the [WebMethod] attribute. This is required if you wish to call your method from the client side. Also, the input parameters to the GetCustomers method are named "prefixText" and "count". You are required to name the parameters exactly as shown above or else it will not work. The ASP.NET Team has hard coded the names of the input parameters and they must be "prefixText" and "count".
Another important thing to notice is that the method "GetCustomers" returns a string array. This is another requirement by the AutoCompleteExtender control.
The implementation is pretty straight forward. We are concatenating the FirstName and the LastName and checking whether they start with the prefixText. If they do we select the FullName which is the concatenation between the FirstName and LastName and return the string[] back to the client.
The effect is shown below:
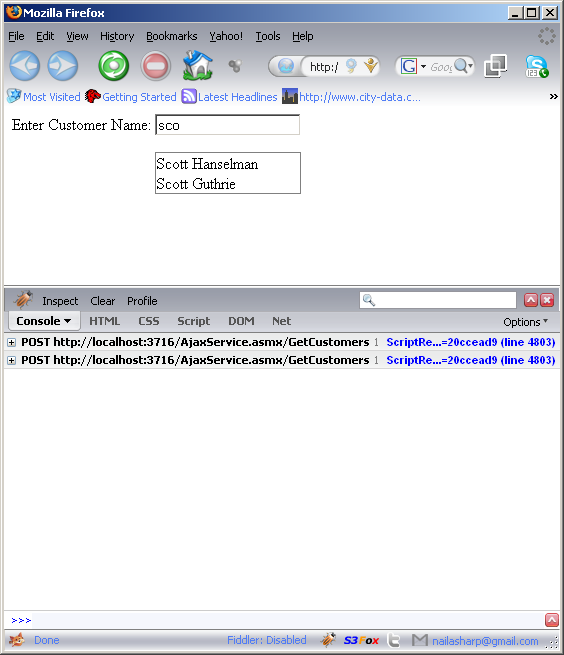
Although, the Auto-Suggest works as expected but it is not classy. To make it better we will include images in our suggestion box. We also need to find a way to access the primary key of the customer which in this case is CustomerID.
Returning Image, CustomerID from GetCustomers Method 1:
In the first method of returning additional data to the client we are going to split different parts using the "|" symbol. Check out the code below:
The CreateAutoCompleteItem enables us to pair a key and value together. We are using the FullName as the key and the html variable as the value. The html variable is the concatenation between the "CustomerID" and the "ImageUrl" properties.
At this point we are returning some additional information to the client but the client has no idea how to process them. For this we need to implement the OnClientPopulated event of the AutoCompleteExtender control as shown below:
And here is the implementation of the "getCustomers_Populated" event.
And here is the result:
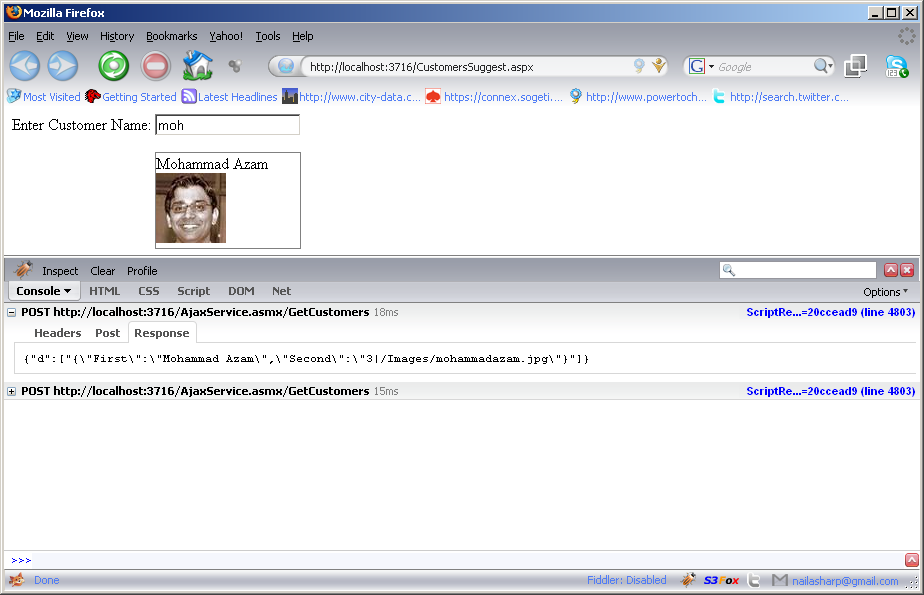
The above screenshot shows that the image is also displayed along with the text. Also, if you notice the response consists of pair values represented by "First" and "Second".
If you like the above technique you can use it but one of the limitations of the above implementation is that you need to know which index number contain what value. This becomes a headache when you are returning several values to the client. In the next technique we are going to show how to return the object as JSON so we have a rich object structure.
Returning Image, CustomerID from GetCustomers Method 2:
Here is the implementation of your GetCustomers method:
As, you can see in the above code we are serializing the complete customer object. Although AutoCompleteExtender.CreateAutoCompleteItem method perform the JavaScript serializing by default but we needed to do this on our object and not the string.
Here is the client side code which handles the OnClientPopulated event:
The above code demonstrates that by using JSON we keep the same structure of our objects on the client side. This helps us to navigate and access different properties of the object.
Accessing the Selected Element:
There are certain scenarios in which you want to access the properties of the selected element. By element we are referring to the selected customer. You can implement the OnClientItemSelected event which is fired as soon as the item is selected from the suggestion list. Take a look at the code below:
Conclusion:
In this article we demonstrated how to add images to your auto-suggestions. We also saw a couple of different techniques in returning the additional data back to the client and how to access the selected data.
[Download Sample]