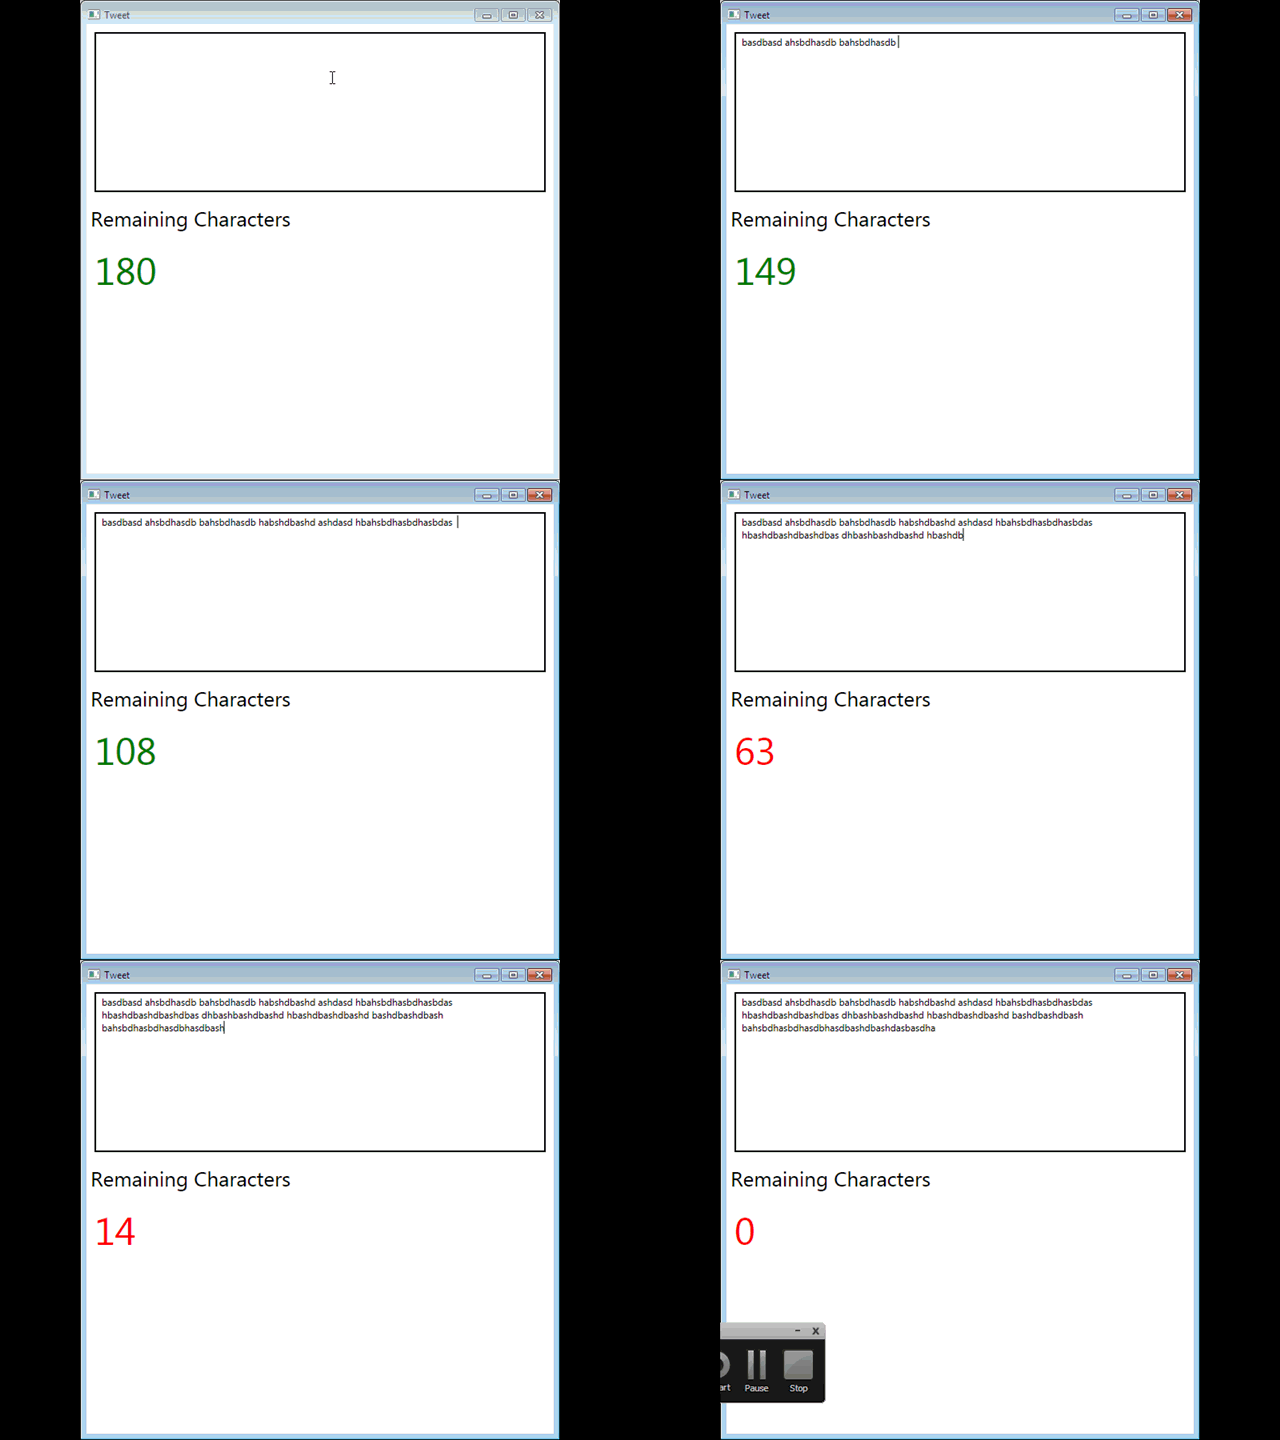
Windows Presentation Foundation includes RichTextBox control which can be used to provide advanced editing features to the user. However, it does not provide a live indication of how many characters are typed in the TextBox. In this article we are going to implement a custom RichTextBox to provide a live view of the number of characters typed in the TextBox.
What Features will Our Custom Control Provide?
There are number of features that our custom implementation will provide. These features includes the following:
1) Maximum characters limit
2) Live display of number of remaining characters
3) Copy and Paste operations affecting remaining characters
5) Alerting users when a certain threshold has reached
Getting Started:
The first task is to choose the type of the control. The control can be UserControl, Inherited Custom Control, Composite Control. Since, our control is based on the RichTextBox control it will be better if we inherit from the WPF RichTextBox control. This will provide us with the basic RichTextBox functionality and we can add additional behavior to our custom control.
Implementing SharpRichTextBox Control:
We will start by inheriting from the RichTextBox control and defining our custom dependency properties. Take a look at the code below:
In the above code we have defined bunch of dependency properties that we will be using in our SharpRichTextBox control. Let's go through each of the property and see what it does.
CharactersRemainingProperty: This property indicates to the user how many characters can be entered in the SharpTextBox.
MaxCharactersAllowedProperty: This property indicates the total characters that can be entered in the SharpTextBox.
NotifyLimitProperty: Style is applied when this limit is reached.
NotificationStyleNameProperty: Style name that should be applied to the counter label.
NotificationStyleProperty: The Style applied to the counter label.
DefaultNotificationStyleNameProperty: The default style applied to the counter label.
IsValidProperty: Indicates if the characters entered are less than or equal to the MaxCharactersAllowed value.
The next step is to initialize the dependency properties. Since, dependency properties are static they should be initialized in the static contructor of the SharpRichTextBox control.
If you look closely at the MaxCharactersAllowedProperty property you will notice that it triggers the DefaultNotificationStyleNameProperty delegate when registered. This is performed so that the dependency properties which depends on MaxCharactersAllowedProperty can be initialized successfully.
The MaxCharactersAllowedPropertyChanged makes sure that when MaxCharactersAllowedProperty is initialized it should also initialize the CharactersRemaining property.
Handling User Input:
One of the main features of the SharpRichTextBox is to block the user from entering more than the specified characters. This means that user is not even allowed to enter any character after reaching the maximum characters. This also means that the user input (keyboard) will be disabled and the user will only be allowed to type certain characters including backspace, delete and arrow keys.
This is performed by the tunnel events which are represented by the keyword "Preview" in the control's list of events. The PreviewCanExecute event is implemented below which makes sure that if it valid to type a character in the SharpRichTextBox.
The GetNumberOfCharactersRemaining method returns the number of characters that the user can type. The result is calculated by subtracting the characters entered from the maximum allowed characters. If the number of characters remaining is "0" then the event is handled and not bubbled up to other subscribers.
Handling the Clipboard:
You can also paste text directly from the clip board to your SharpTextBox and it will still recognizes the limit on the TextBox. This is accomplished by using ApplicationCommands. The code below shows the implementation of the command binding.
The PreviewExecuted is where the actual stuff happens. The text is extracted from the Clipboard copied to the SharpRichTextBox. If the clip board contains characters which are more than the MaximumAllowed characters then only the portion of text is copied from clip board to the TextBox.
Displaying Live Counter:
The final step is to use the SharpRichTextBox control in a WPF application. Simply, use the XAML view to create the SharpRichTextBox using the code below:
And here is the TextBlock which is used to display character remaining counter.
You can see it in action in the following animation:

Resources:
1) Screencast: Creating Live Character Counter SharpRichTextBox in WPF
Conclusion:
In this article we learned how to implement a custom RichTextBox that provides live feedback to indicate the number of typed characters. In the next article we will demonstrate how to show the live counter as the background of the SharpTextBox.
[Download Sample]


