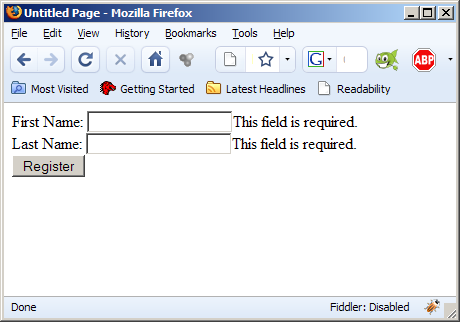
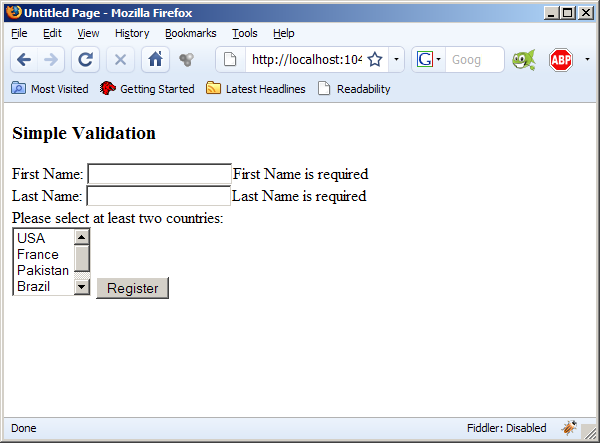
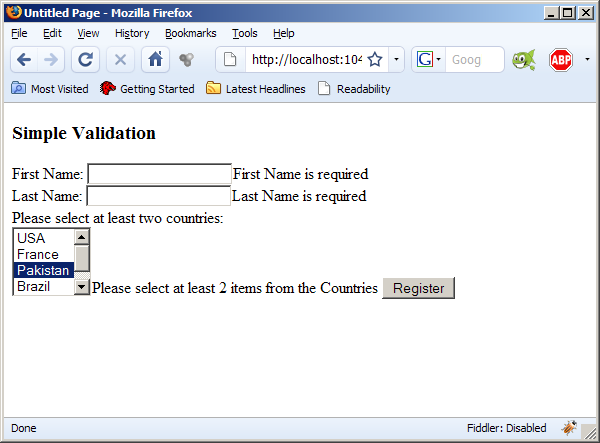
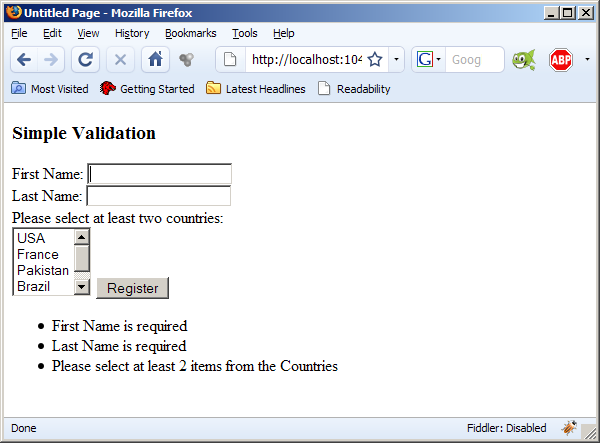
jQuery library is the most popular JavaScript library available to the developers. The library includes many useful methods for interacting with DOM elements, built-in support for AJAX API, support for creating animations and form validation. This article focuses on the validation aspect of the jQuery library using the jQuery validation framework.

Why Validate on the Client Side?

jQuery validates on the client side and you can expect client side validation since jQuery is a JavaScript library. Client side validation provides immediate feedback to the client without accessing server resources. Client side validation must always be accompanied by server side validation and should not be used as the only defense mechanism against abnormal input.

Downloading the jQuery and Validation Library:

The first step is to download the jQuery and the jQuery validation library. Use the link below to download the libraries.

jQuery
jQuery Validation Framework

Creating a Simple Validation:

Let's start with a very simple validation using jQuery library. In this demo we are going to validate two required fields. First add the a reference to the jQuery and jQuery validation library as shown below:


Next, declare the input boxes for the "FirstName" and the "LastName" as shown below:


One important thing to notice is the class attribute on the input text field which is set to "required". The "required" class marks the input box as a mandatory field which cannot be left blank. Finally, we need to hook up the form with validation. This is performed by using the validation function as shown below:


Run the application and try to submit the form without filling out the text fields. You will experience the following output:


The screenshot shows the validation being triggered when the fields are left unattended. In the next section we are going to demonstrate how to customize the message for the input controls.

Apply Custom Validation Options:

In the last section we learned the simple and straight forward way of enabling jQuery validation on the page. In most of the real world scenarios you would want the message to be different than "this field is required". In the implementation below we demonstrated how to apply custom rules and messages to the input fields.


The above implementation uses the "add" method of the jQuery validation framework to assign a rule dynamically to the DOM element. Now run the application and trigger the validation you should see the following output:


The screenshot shows that we managed to change the default message associated with the validation rule. In the next section we are going to implement a custom rule for the ListBox control.

Implementing Custom Rule for ListBox Control:

In the last section you noticed might have noticed that there is a ListBox control on the page. In this section we are going to implement a custom rule for that ListBox control. The ListBox displays the name of the countries and we would like to make sure that our user selects at least two countries from the ListBox control.

The rules are added directly to the validate function as shown below:


Countries is the name of the ListBox control. A new rule "validateCountries" is activated inside the rules collection. A custom message is also created for the Countries which notifies the user that multiple countries needs to be selected. For the above code to work we must implement the validateCountries rule. The rule is added using the jQuery.validator.addMethod which is shown below:


The function above makes sure that at least two countries are selected from the ListBox control. The screenshot below shows the validator in action when only a single country is selected from the ListBox control.


As soon as the second item is selected the error disappears.

Displaying Error Messages as Summary:

In previous sections we displayed the errors inline. A much practical approach would be to display the errors in the form of summary. The summary display requires small modification to the validate function options which are shown below:


The errorContainer points to a DIV element and the errorLabelContainer points to the UL element inside the DIV element. The wrapper option specifies the element which will wrap the errors which in this case is the LI element. The output is shown in the screenshot below:


Conclusion:
 
jQuery validation is a powerful library that is easy to setup and provides immediate feedback to the users. In the next article we are going to dig deeper into some advanced features of the jQuery library.

[Download Sample]