Menus serves an integral part in any iPhone application. Menu allows the user to turn on and off the features provided by the game. You can also use a menu option to ask for user's rating for your iPhone game. A good rating means additional future revenue for the game. This article will take a deep dive and explore different ways to create menus in Cocos2d framework.
Different Types of Menu:

Cocos2d framework provides multiple ways of creating menus items. CCMenuItemImage is responsible for creating menu items using an image. CCMenuItemFont is used to create menu items using fonts and labels. In this awesome article we are going to tackle both ways of creating menus.

Using CCMenuItemFont:

If your game can benefits from a text only menu then CCMenuItemFont is an excellent choice. CCMenuItemFont uses plain strings to create a menu. You can also use CCLabel,CCBitmapFontAtlas to assign a different style of font to your CCMenuItemFont. The implementation below shows how to create a simple menu based on CCMenuItemFont items.


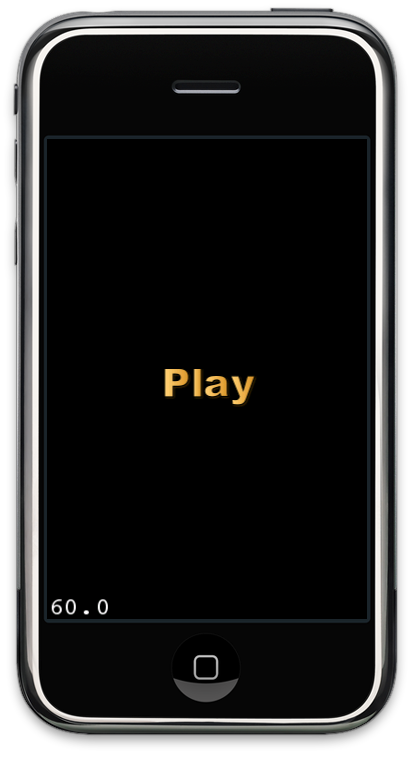
The code above uses the itemFromString method of the CCMenuItemFont class to create a menu item using plain string. The menu item is then added to the menu class which is later added to the layer. The screenshot below shows the output in the iPhone simulator.


At this point if you click on the menu item "Play" you will notice that nothing happens. The menu item we just created is missing a selector which will be triggered when the item is clicked. The implementation below shows how to add a selector and the target to our menu item.


In the code above we have implemented the target and selector for the CCMenuItemFont instance. Now, when the "Play" menu item is clicked it will trigger the "startGame" method. You can open the console window and see that the message "play is clicked" is displayed which confirms that the selector is being fired.

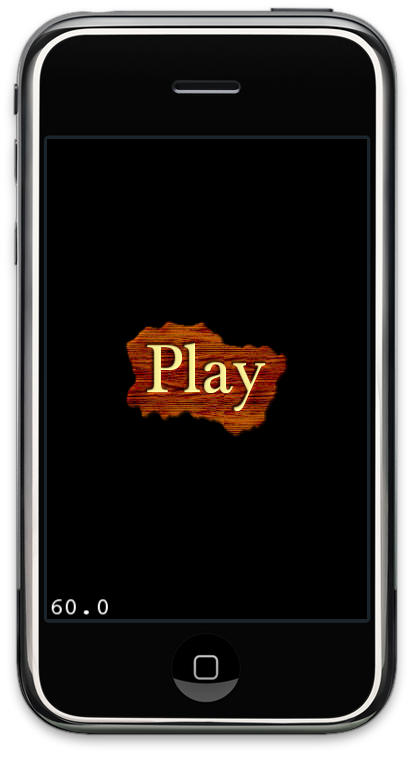
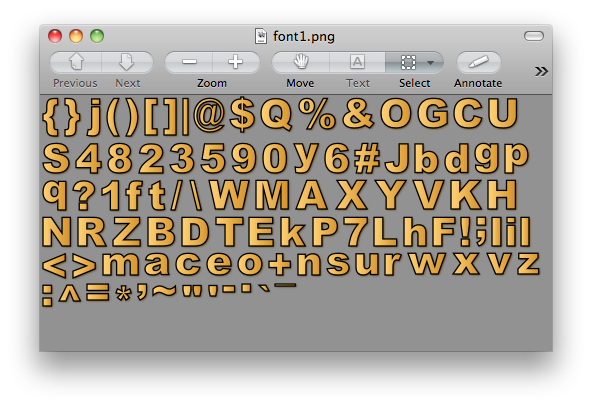
The above code does serves as the basic purpose of a menu but it is not pretty enough to be used as a menu for an iPhone game. There are several tools which allows to create custom fonts and font effects. In this article we leverage the use of an awesome tools called Glyph Designer ($29.99). Glyph Designer allows to modify the fonts by adjusting the colors, gradients, shadows etc and then output the font as the "fnt" file which can be utilized by the BitmapFontAtlas class to display the font. The screenshot bellows shows the PNG generated by the Glype Designer.


The implementation below shows how to use this new font in our application using menus:


The above implementation shows how CCBitmapFontAtlas class can be utilized to use as our custom font. The menu item uses the CCBitmapFontAtlas to write string to the menu. The screenshot below shows the result:


Using CCMenuItemImage:

There are times when you need an image to represent your menu item and for those fun times you can always leverage the power of CCMenuItemImage. CCMenuItemImage is similar to the CCMenuItemFont with the exception that it works on the image. The implementation below shows how to use CCMenuItemImage:


The menu is shown below:


Adding Multiple Menu Items to the Menu:

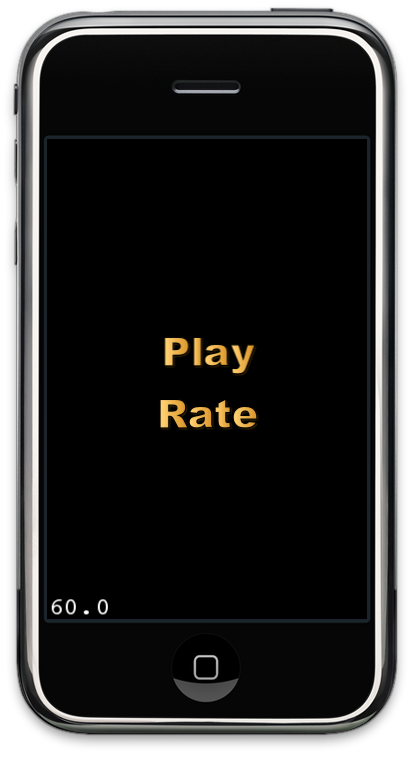
In all the previous implementations we have single menu item in the menu. In real world apps you will have multiple menu items each corresponding to a particle action. The following implementation shows how to add multiple menu items to the menu.


The screenshot below shows multiple menu items added to the menu:


Animating Menu Items:

It should be no surprise that you can perform actions on menu item since menu item inherits from CCNode object. Make sure to choose appropriate action since you do not want to confuse the users by making the menu items hard to click. The implementation below shows how to perform the RotateBy action on the menu item.


CCMenuItemToggle:

There are situations when you want to toggle between different images. CCMenuItemToggle provides an easy way to switch between menu items. CCMenuItemToggle cycle through the items. The implementation below shows how to cycle through the happy and sad images of smiley using toggle items.


The above implementation will first display the smiley with happy face. When you click on the menu item it will change to sad face. Another click will move it back to happy face. This is a great class which can be utilized when selecting menu items with multiple options.


Conclusion:

Menus are a vital part of an iPhone game. A nice menu can amplify the user's experience. In this article we covered different ways of creating menus using Cocos2d framework.