In the last article we started our quest to build a route tracker application called JogBuddy, which helps the user track the jogging route. In this article we are going to take a step forward and dive into the actual implementation.
The User Interface:
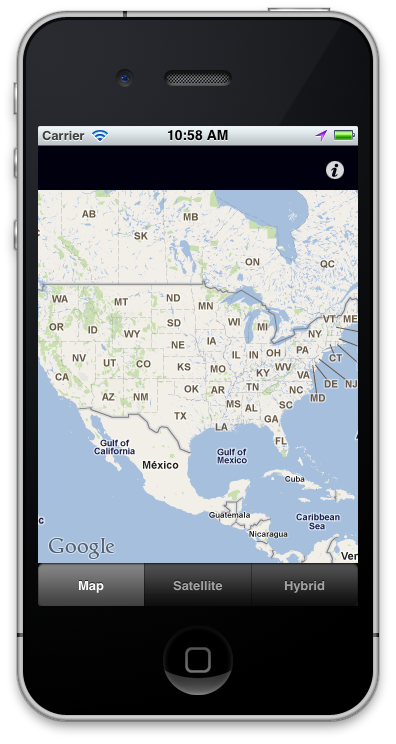
The user interface for the JogBuddy application is quite simple. It consists of three sections. The header contains a single "info" button which is used to display the jogging statistics including distance, speed, time etc. The content section (middle section) displays the actual map. The map which is of type MKMapView control will be dynamically injected into the content view. The footer displays the options to change the map display type.
The screenshot below shows the user interface for the JogBuddy application.
Tracking the User Movement:
The CCLocationManagerDelegate provides the methods which allows the user to track the user location. The JogViewController implements the CCLocationManagerDelegate and MKMapViewDelegate as shown below:
The didUpdateToLocation method is invoked each time the device gets hold of a coordinate. This is where you will gather the latitude and longitude values. The didUpdateToLocation method will start pining for a new location right after you call the startUpdatingLocation method on the location manager. We call the startUpdatingLocation inside the viewDidLoad method of the JogViewController.
In the next section we will start drawing the user route on the map.
Drawing on the Map:
Before we jump to drawing anything on the map we need gather coordinates of the user's current location. This is performed inside the didUpdateToLocation method. A new instance of JogPoint is created and initialized with the new coordinates. The implementation is shown below:
The JogPoint class implements the MKOverlay delegate which is responsible for creating overlay drawings on the MKMapView control. The JogPoint implementation is shown below:
Whenever the overlay is added to the map it invokes the viewForOverlay method which is responsible for providing the view that should be displayed on the map. This is where we will draw the path of user movement. The JogView class
inherits from the MKOverlayView class as shown in the implementation below:
The drawMapRect method in MKOverLayView delegate is responsible for creating the path. The implementation is shown below:
We iterate through the points and make a line from the first point to the second point till the end of the array.
If you run the app you will notice that wherever you move a blue line is drawn. The blue line represents the user movement/route.
Testing the Application:
Since, the simulator is not equipped with the GPS we have to test using the actual device. Install the app in your device and go out and take a drive. After driving for a while stop your car and check out the path. You will notice that the blue line was plotted on the map which shows your route.
Problems:
1) The path created on the map shakes little bit when plotted.
2) Sometimes the path misses few points to plot ending up with the shortest route from point A to point B.
Download:
The complete code is available on Github. You can download the code using the following link:
https://github.com/azamsharp/JogBuddy
Conclusion:
In this article we learned how to draw the user location on the MKMapView control. The future article will demonstrate how to add information view to the app which shows the route distance, speed and time to the user.