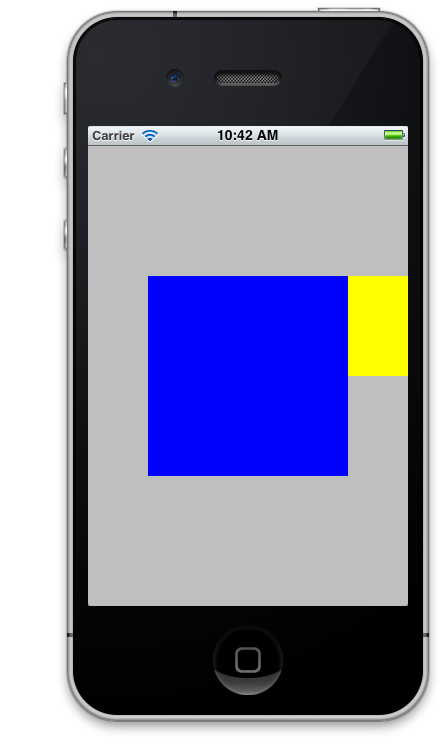
iPhone and iPad development revolves around UIView and the controls inherited from the UIView class. In order to perform effective iOS development it is mandatory to learn the building blocks associated with the UIView class. In this article we are going to take a step back and strengthen our understanding of the UIView.

UIView:

UIView class is responsible for the elements on the screen. This includes UITextField, UILabel, UITableView and many other useful controls. In the end UIView is an area where the user interacts with the application.

Create a “Single View Based” application and examine the didFinishLaunchingWithOptions located in the AppDelegate.h file.


The above code sets the viewController as the rootViewController for the application and also adds the view of the viewController to the window. When the application runs the view of the viewController will be displayed on the screen.

Adding Custom Views:

UIView exposes a hierarchical structure which means we can add more than one UIView to a single view. In this section we are going to create custom colored views which will be added to our root view.

The implementation below adds the view called blueBox to the root view of our application.


The screenshot below shows the result:


One of the most important concept when working with views is of frame. The frame represents where a view will be placed relative to its container. In the above code our view “blueBox” is placed at the origin of the super view and given the width and height of 200 points. If you want to adjust the blueBox view to appear in the center of the screen you can use the following code:


The above code sets the blueBox view center same as the super view’s center. The screenshot below shows the blueBox view centered on the screen.


Let’s add a child view to our blueBox view and name is “yellowBox”. The following implementation adds the “yellowBox” to the “blueBox”.


In order to center the “yellowBox” we can implement the following code:


Can you guess where the “yellowBox” will be displayed?

Take a look at the screenshot:


The reason is simple! The blueBox is positioned using the frame of its super view which is self.view. The yellowBox is positioned using the frame of blueBox. When yellowBox centers itself based on the blueBox center it is actually trying to center itself based on the self.view center instead of the blueBox center and that is why it is positioned outside the bounds of the blueBox view.

In order to center the yellowBox inside the blueBox you can use the bounds property of the blueBox to calculate the center for the yellowBox view.


Bounds indicate the area occupied by the view relative to itself. You can also think of bounds an an area where the user can draw. Changing the frame width and height automatically changes the bounds of the view. On the other hand since bound is relative to the view itself changing the position of the frame does not have any effect on the bound.

By default if the sub view is outside the bounds of the parent view it will be displayed. The following implementation adds a yellowBox outside the bounds of the blueBox.


The yellowBox is outside the bounds of the blueBox but it is still visible. We can easily clip the views that are outside the bounds of the super view by using the clipToBounds property as shown below:


Now, when you run the application you will notice that the yellowBox is no longer displayed.

Conclusion:

In this article we learned about the basics of the UIView class. The article explained how to use the frame, bounds, center properties of the UIView controls. In the future article we are going to dive into more features associated with the UIView.