Instagram is one of the most popular picture sharing application on the iOS platform. The two main features of Instagram includes applying cool effects to the pictures and quickly sharing the pictures on the social network. In this multi-part series we will implement an app similar to the Instagram.
Taking Pictures:
The first step for any camera app is allowing the user to take pictures. Luckily, iOS API makes it tremendously easy to take pictures. The UIImagePickerController can be used to take pictures using the camera. Needless to say that you cannot use the simulator to take pictures. You must test the app in a physical device which is capable of taking pictures.
In order to work with UIImagePickerController you need to make sure that your controller uses the UINavigationControllerDelegate and UIImagePickerControllerDelegate as shown in the following implementation:
Next, we will add a camera button to the interface which when clicked will initiate the camera. We can use any camera image to represent the camera but instead of reinventing the wheel we are going to use the camera icon already present with the iOS SDK. The code below places the camera bar button on the right of the navigation bar.
The camera button is shown in the following screenshot:
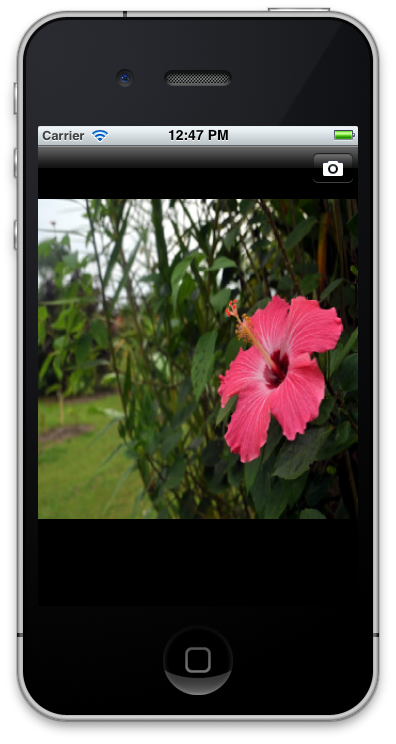
Don’t worry about the image of the beautiful flower right now! It is simply used as a place holder. When you press the camera button you will get an error because the takePicture method is not implemented. The takePicture method initiates the camera and allow the user to take pictures. If you are not testing it on a real hardware device then the simulator can display the photo library or the photo album. The implementation is shown below:
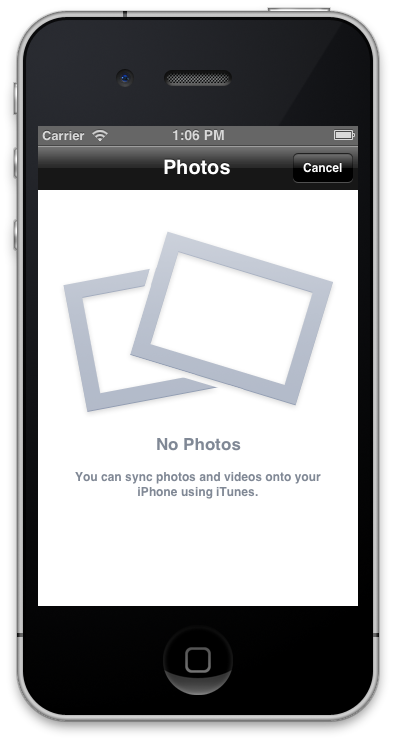
The takePicture method creates an instance of the UIImagePickerController and checks if the device has the camera or not. If the camera is found then the SourceType is set as UIImageControllerSourceTypeCamera otherwise the SourceType is set as UIImagePickerSourceTypePhotoLibrary. The camera is presented inside the model view controller. If you run the application on the simulator you will see the Photo Library as shown in the screenshot below:
When the picture is taken the didFinishPickingMediaWithInfo method of the UIImagePickerControllerDelegate is invoked. The didFinishPickingMediaWithInfo parameter info has the information about the new image. The implementation below shows how to set the new image to the UIImageView control on the view.
The last line [self dismissModalViewControllerAnimated:YES]; is extremely important. If you do not dismiss the model view controller then you will be stuck at the camera screen.
Conclusion:
In the first part of the multi-series article we learned how to activate the camera and take picture. The picture is then displayed on the view using the UIImageView control. In the next part we will see how to apply different filters to the new image.