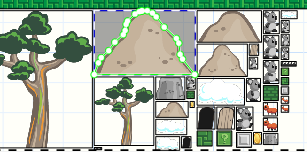
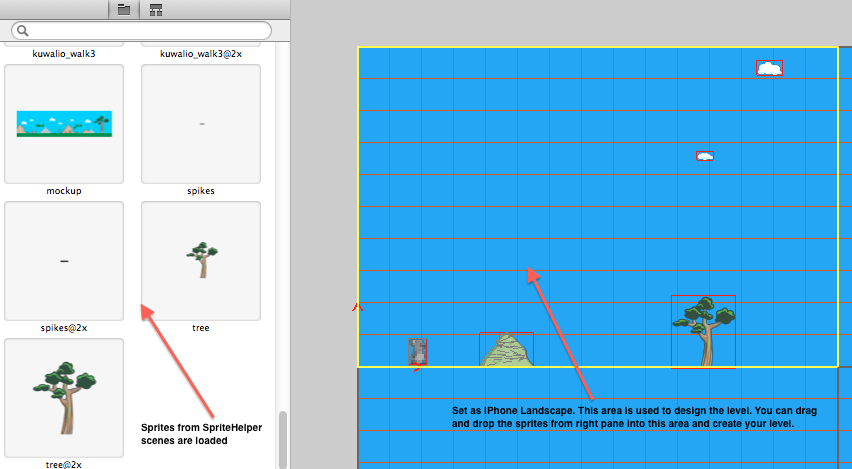
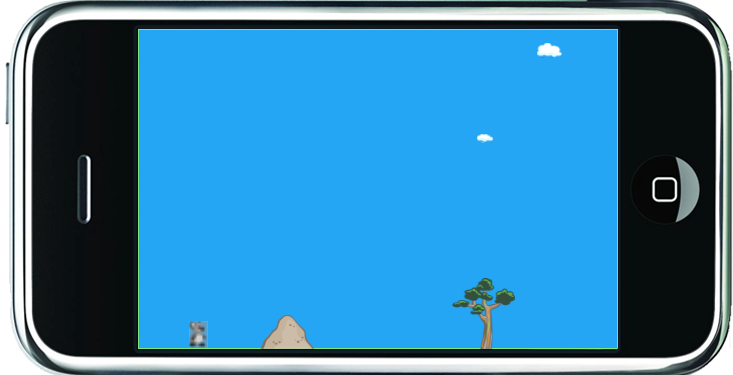
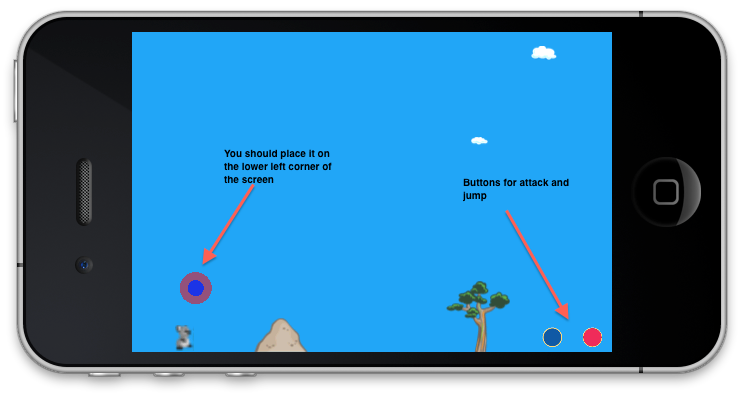
Koala is a cute and cuddly animal but when it is threatened it can unleash vicious attacks. In this first part of Kraazy Koala we are going to set up the stage by using LevelHelper and SpriteHelper. We are going to learn how to use SneakyInput to control the movement of Koala.

Creating the Level:

The days of carefully placing all the sprites on the screen using pixel position are over. Now, you can use the power of LevelHelper to create the level faster without ever diving into code. Before we start creating the level we need to create a sprite sheet using SpriteHelper application. Open SpriteHelper and import all the images. The screenshot below shows the images imported into the the SpriteHelper application.


By default all the shapes are considered to be rectangle. Of course this will not work in our case since mountain is not a rectangle. Luckily, you can use SpriteHelper to auto trace the shape. This can be found under the "Physics" tab. Just click on the "Create New Auto Traced Shape" and it will create an outline around the mountain sprite giving it the correct shape. The screenshot below shows the result:


Next, load the SpriteHelper scene file in the LevelHelper and you will have access to all the sprites to make your level. The screenshot below shows the LevelHelper with sprites loaded in the left pane and the level designer on the right pane.


NOTE: Make sure to select the Koala and set its physics property to be dynamic.

After creating the level you can simply click on the "Scene Tester" to test your level from right within the LevelHelper application. The screenshot below shows the LevelTester in action.


Now in order to use LevelHelper in your xCode project you need to generate the LevelHelper classes. This can be accomplished using the "Generate Code" option in LevelHelper as shown in the following screenshot:


This will create a LevelHelper folder which will consist of all the necessary files. Add the "LevelHelper" folder to your xCode project. In the next section we are going to load the level using xCode.

Loading the Level Using xCode:

First make sure that all the necessary files are included in the "Resources" folder of the xCode project. These files include the following:

*) Level file (This is the plhs file created when you save the level using LevelHelper)
*) SpriteHelper scene file created using SpriteHelper. (pshs file)
*) Sprite sheets generated by using SpriteHelper. (png files)

The screenshot below shows the contents of the "Resources folder".


The next step is to load the level. This can be accomplished inside the init method of the layer.


Before running the above code make sure that the "tick" method is defined which is responsible for activating the physics effects. The tick method is included in the sample download. The level will render as it did when SceneTester was used from within the LevelHelper application. In the next section we are going to learn how to setup the SneakyInput joystick which will enable us to move our crazy kuala.

Setting Up SneakyInput:

We are using Kobold2D project which already links to most of the commonly used frameworks in which one of them is SneakyInput. SneakyInput allows the developer to create an on-screen joystick and buttons. The process is quite simple, you create the base and then you add joystick to it. Same procedure can be repeated for buttons. The setupJoystick method below adds a joystick on the screen.


The result is shown below:


Try it out! You will notice that just like a physical joystick you can move the handle anywhere you want. The buttons can be added using the same approach as shown in the implementation below:


The events from joystick should be handled constantly. The best place to handle them is inside the tick event which is fired at very short intervals. You can use the joystick velocity property to determine that if the joystick is being pulled to the right or left.


The above code will make your koala move to the right when the joystick is being pulled to the right. But you will notice that when the koala collides with the mountain nothing happens. Instead it passes through the mountain like a super hero. In order to make the koala move more naturally and have collisions with objects we need to use the box2d method SetLinearVelocity as shown below:


Now, if you move the koala it will behave more naturally and will collide with other objects.

You can easily add more code to move the koala in both the directions using joystick.


The flipX property is used to change the orientation of the koala . This will make sure that the koala is facing the right direction when walking. Walking might be a wrong word since koala seems to be sliding. This is because we have not attached animation frames to the koala . This will be covered in the next article along with the attack and jump buttons.

Credits:

The graphics of this article are taken from Vicki Wenderlich website. You can download the graphics here.

Conclusion:

In this article we learned how to quickly create a physics enabled game using Cocos2d, LevelHelper and SpriteHelper. We learned how to setup the level and configure and use the SneakyInput control. In the next article we are going to demonstrate how to animate the koala and perform actions like jump and attack.