We will continue our quest of implementing Desert Race, tile map based game. In this part we will implement a pause menu and make our game accelerometer enabled.
Why Pause the Game?
We know you might be thinking why would someone ever pause your awesome game, but there are situations in life where the user will perform this unthinkable deed. Not pausing the game might cause liver damage if you get the drift. In the next section we will implement PauseLayer which will be displayed on top of the GameLayer.
Implementing PauseLayer:
The PauseLayer inherits from CCLayer and is responsible for displaying a pause menu to the user. The PauseLayer will be displayed on top of the current GameLayer. The PauseLayer implementing is shown below:
The above code sets the background for the PauseLayer and attaches animation effects and callback to the layer. We want to show the pause menu whenever the user touches the screen. The GameLayer ccTouchesBegin event is implemented below:
The pauseGame is responsible for displayed the PauseLayer. The pauseGame method is implemented below:
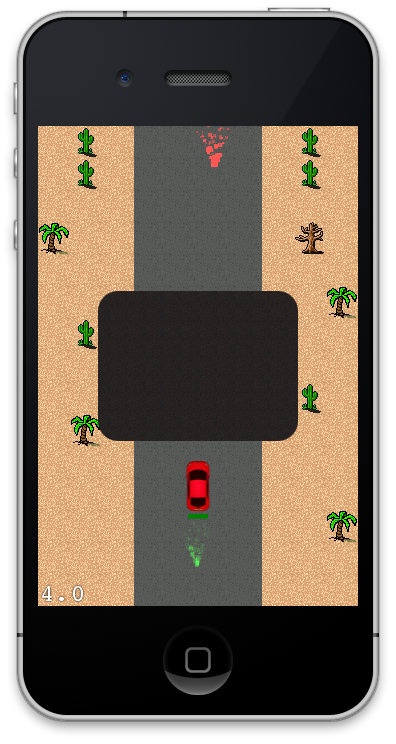
The effect is shown in the screenshot below:

We are using the black background created by Vicki Wenderlich but you can use any background for your pause layer. Currently, the PauseLayer does not have any options to resume or quit the game. In the next section we are going to add Menu to our pause layer which will allow the player to either get back into the game or quit the game.
Adding Menu to the PauseLayer:
Menu is added to the PauseLayer using a CCMenu class. If this is your first encounter with creating the menu then we highly recommend that you check out the following article.
Fun with Menus in Cocos2d Framework
The setupMenu implemented in PauseLayer is used to create a menu. The implementation is shown below:
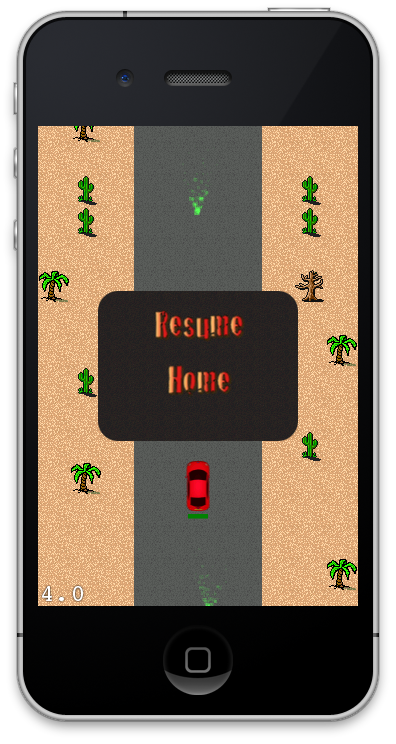
The screenshot below shows the menu in action:

As always you can change the appearance of the menu by using custom images or effects. Now since you have assigned the touch on the screen to show the pause menu you should somehow allow the user to drive the car. This is where the accelerometer comes into action. In the next section we are going to implement accelerometer input which will enable our car to move left and right on the screen.
Implementing Accelerometer Input:
First make sure that accelerometer input is enabled by writing the following line of code in the init method of the GameLayer.
Next we will implement the didAccelerate method which is fired whenever the iOS device suspects movement.
The isCarOnRoad makes sure that the car is driving on the road. The isCarOnRoad implementation is shown below:
Download Sample:
The complete code for the Desert Race game is available on Github at the following URL:
https://github.com/azamsharp/Desert-Race
Conclusion:
In this article we learned how to create a pause menu for our game. We also learned how to use accelerometer to control our car.


