In the last article we discussed the basics of the UIView architecture. We learned the concepts behind frame, bounds and center properties and how to apply them to our iPhone application. In this article we are going to take a look at the animation features of the UIView object.
Recommended Reading:
This is the second part of the UIView Basics article. If you have not read the first part then it is highly recommended that you do so. This part is based on the knowledge you learned from the previous part.
Animations:
Carefully thought animations can play a vital role in creating slick iOS applications. There are number of ways to animate UIView objects. In earlier versions of iOS you mark the beginning and end of the animation using the special methods of the UIView object. The implementation below shows the very basic animation effect which fades out the UIView using the alpha property.
If you run the above code you will notice that the UIView blueBox fades away. For iOS 4 and later the above code can be simplified by using blocks as shown below:
You can even add an animation end callback using blocks as shown in the following implementation:
If you run the above code you will notice that after the animation ends the completion block is fired which prints the “animation finished” text in the output window.
You can also use the affine transformation property to alter the transformation matrix of the UIView inside the animation block as shown in the implementation below:
If you run the above code you will notice that the blueBox rotates complete 360 degrees.
Another technique is to use the Core Animation class CABasicAnimation to perform the UIView rotation:
Core Animation is a very big topic which is not suited for this article. We will certainly cover Core Animation in the future tutorials.
Performing UITabBar Animation:
In this section we are going to implement slide up and slide down animation for our UITabBar control. The animation will be triggered by the use of UIButton control. The following screenshot shows the basic user interface of the application.
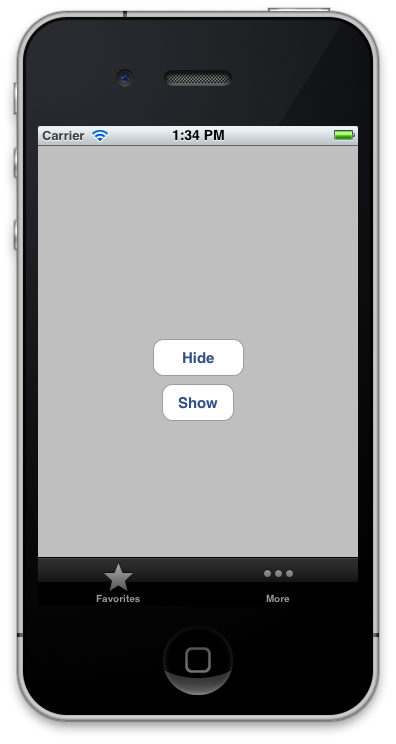
The “Hide” button will trigger the slide down animation for the UITabBar control and the “Show” button perform the slide up animation. The implementation of the button actions is shown below:
Run the application and you will notice a smooth slide up and slide down animation when the corresponding buttons are clicked.
Creating a Splash Page Using UIView Animations:
Splash pages/views are useful for displaying company logos. You can easily use the techniques we discussed earlier to create a simple splash page for your iOS application. There are several tutorials online which uses NSTimer to create the Splash effect but it can easily be achieved by using the basic UIView animation techniques. Add a new SplashViewController to the project and then add a UIImageView to the view as shown below:

The alpha property is currently set to 1.0 that is why you can see the HighOnCoding logo. Set it to 0 (zero) so that the logo is not visible.
NOTE: Setting alpha to 0 is not same as setting the hidden to true. Alpha property is animatibale while the hidden property is not.
Implement the following code in the SplashViewController.
Run the application and you will notice that first the HighOnCoding logo fades in the view and then after 2 seconds it fades out. You can also attach a callback to the fade out animation and transfer the control to a different view controller object.
Conclusion:
In this article we learned about the basics of animation techniques in UIView. The animation blocks provides an easy way to create eye catching animation effects for an iOS application.
[Download Sample]